
Did you know you can use remotEMDR’s advanced internal video chat for group sessions? Conduct high-quality online couples, family, and group therapy sessions, as well as training and supervision sessions. Maintain full access to our video chat’s various features and customization options, and operate fully synchronized bilateral stimulation for all of the session’s participants simultaneously. Keep reading to learn how to create a group, set up and operate a group session.
Part 1: Creating the Group
- To start a group chat, you will first need to add all of the session’s participants to your client list in the Clients tab (click here to learn how to create and manage your client list).
- Once you’ve done that, go to the Group tab and create a new group by clicking the Add Group button.
- Enter the group’s name and select its members from your client list. Then, click Create Group.
- Next, invite the participants to the session by clicking the Invite Group button next to the group’s name. Now choose one of two options:
- Copy the invitation link and paste it into an email message;
- Click the Send Link button and have remotEMDR send it automatically to all group members.
Please note that if you would like to use the second option, you will first have to add each client’s email address to their client card.
In both cases, the invitation link will be reusable, so you don’t need to resend it before each session. Just ask your clients to save the link and click on it every time a new session is about to begin.
Part 2: Starting the Session
- To start the group session click the Start Session button next to the group’s name. You will enter the session screen, and your thumbnail image will appear automatically.
- When a group member clicks the invitation link you sent them, they will be prompted to click a Join Session button.
- Next, they will be asked to type in their name, and their picture will be taken for identification.
- After clicking Continue, the client will enter a virtual waiting room where they will wait for you to admit them.
- To admit a single participant, click the three-dot icon next to their name and select Admit. Alternatively, you can click Admit All to admit all pending participants at once.
Once all group members are admitted, you can go ahead and start your session.
Part 3: Operating the Group Chat
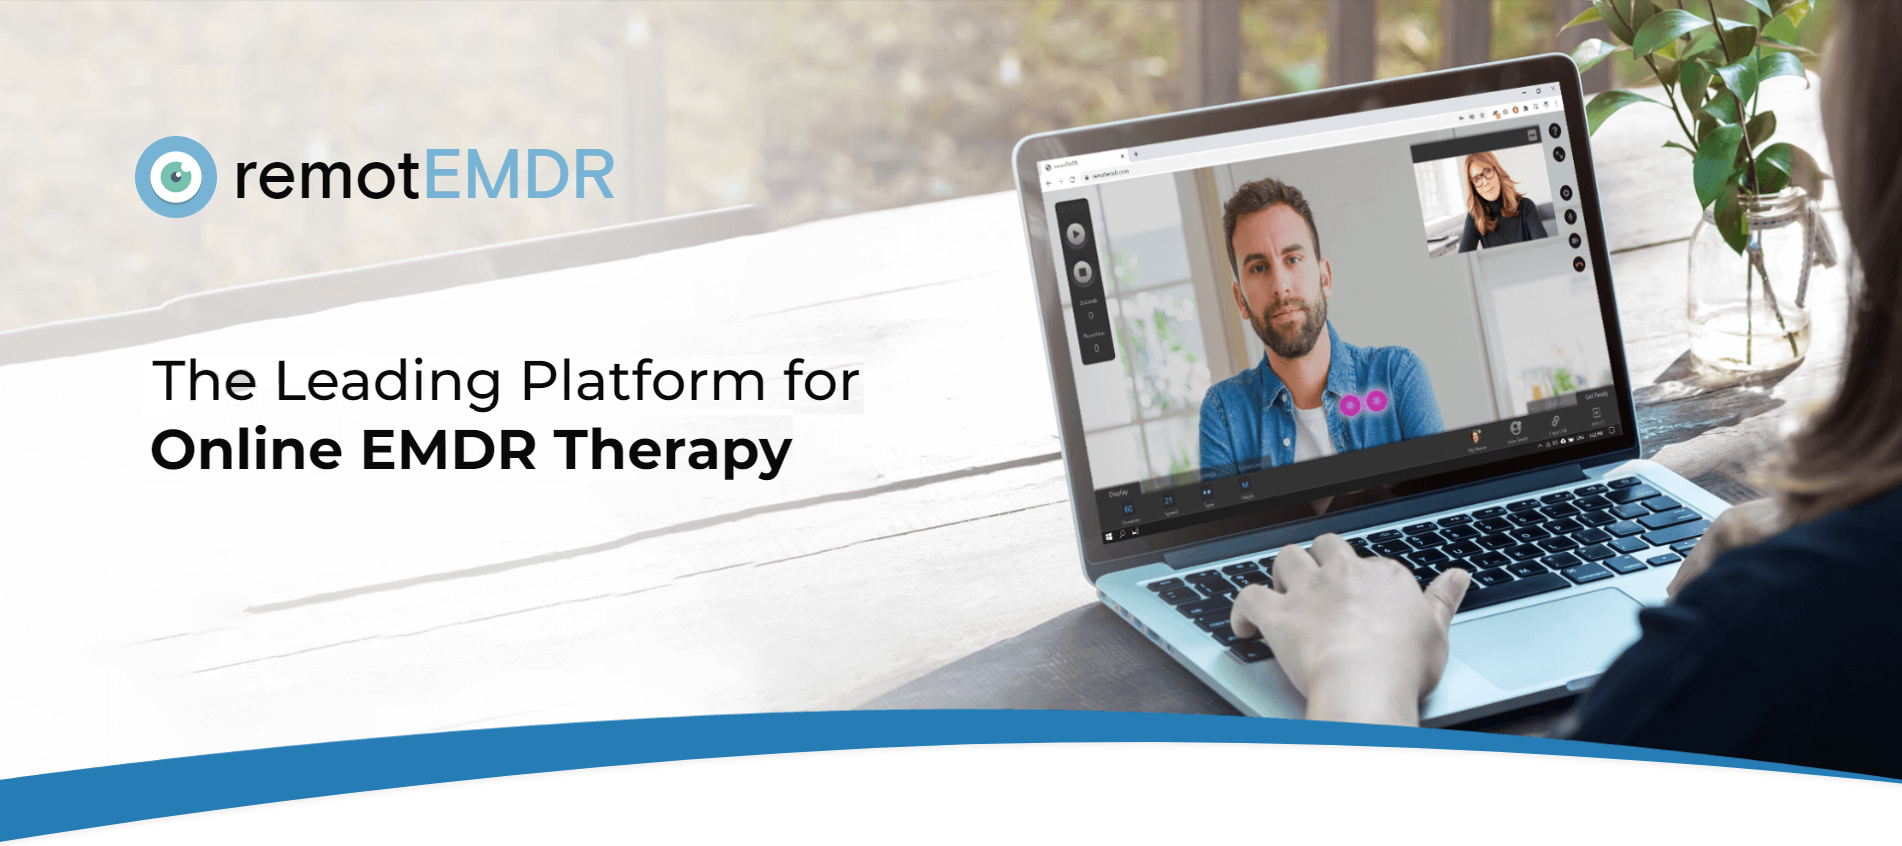
- During the group session, the last client who spoke will appear in the large image at the center of the screen, and all other participants will appear in the thumbnail section.
- You can change the thumbnail section’s layout by clicking the Rotate button.
- Click the arrows found at the top and the bottom of the thumbnail section to scroll through the participants’ images.
- When you click the three-dot icon on a client’s thumbnail during the session, you’ll find two options:
- Mute – click this button to mute each participant individually.
- Move to Waiting Room – clicking this button will send a client back to the virtual waiting room they entered before being admitted to the session. To bring them back into the session, click the three-dot icon and select Admit.
Part 4: Using the BLS in Group Sessions
- When the BLS starts, it will appear on the screens of all of the group’s members synchronically. You will be able to see and hear all of the participants at all times.
- You can choose whether they will be able to see and hear you while the BLS is active just like in a one-on-one session. Click the Settings button on the right side menu, then click the Video During the BLS drop-down menu to choose one of the options.
If you have questions about remotEMDR’s group chat, please contact us at info@remotEMDR.com.
